How to directly send Vinted scraped results to Discord
In this blog post, I'll introduce you to an awesome and easy way to send scraped Vinted listing updates straight to your Discord server without writing a single line of code. No coding a Discord bot, no need to write any scraping code for Vinted. By the way, I've already whipped up a super detailed guide on how to scrape Vinted listings without writing a single line of code.
So back to the main deal: this article is all about making your life easier. No more manual labor. Just set up this workflow once, and watch the magic happen as it automagically ✨ does its thing!
Step 1: Let’s scrape Vinted
To kick things off, let's jump right into automating our Vinted scraping process. When it comes to scraping Vinted listings without coding, we've got the perfect tool for the job: the Vinted Products Scraper.
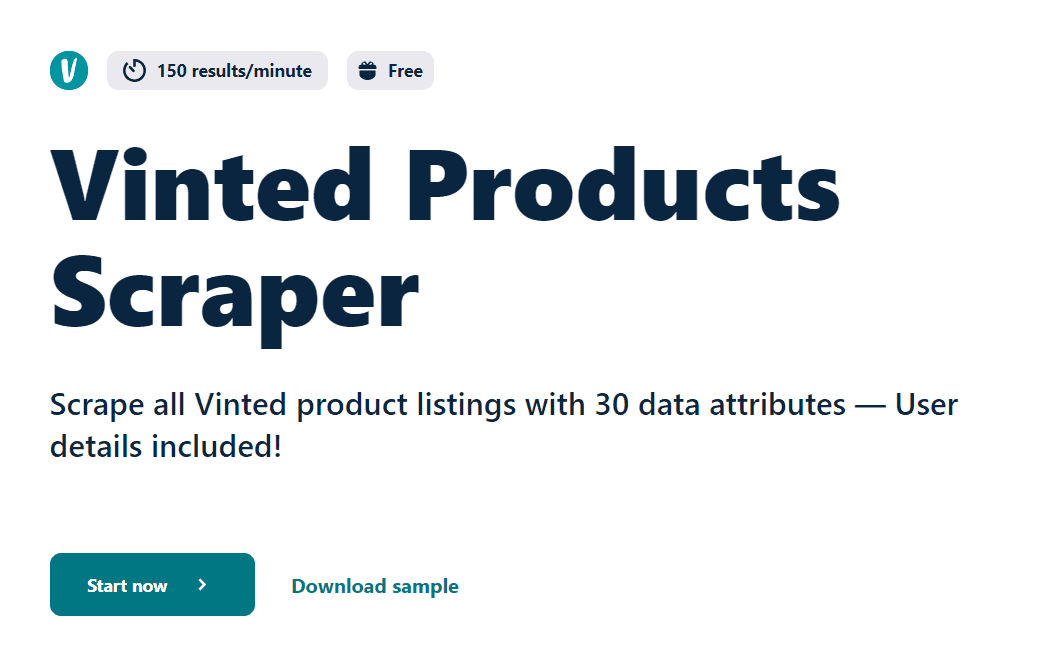
This boi is a star ⭐ – it can effortlessly pull out 30 key data points from any Vinted listing, at 150 results per minute speed. That's it? nope, Our Vinted Products Scraper isn't limited to just one Vinted domain – it can handle 19 of them.
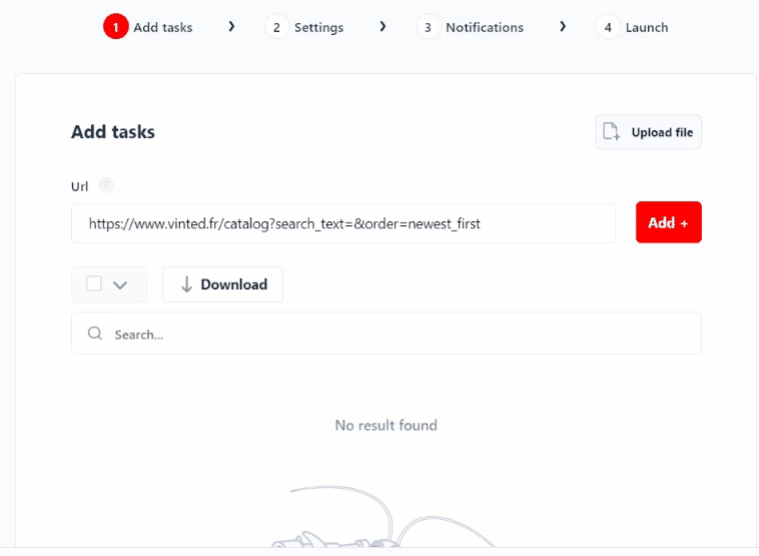
First things first, log in to your dashboard and fire up the Vinted product scraper squid. Now, let's go to vinted.com and get the URL that you want to scrape. For instance, I want to scrape brand-new Nike sneakers with tags, and I'm keeping the price tag under a hundred bucks. Copy that URL and add it as a task in the scraper.
Looking for an in-depth tutorial on scraping Vinted? I have already published a sexy how-to for you. But for now, let's fast-forward to the cool stuff: the scheduling part.
Now, let's talk scheduling. I'm setting up the scraper to do its thing every 30 minutes. It'll be on the lookout for any fresh listings that pop up. But guess what? With Lobstr in your corner, you've got even more flexibility.
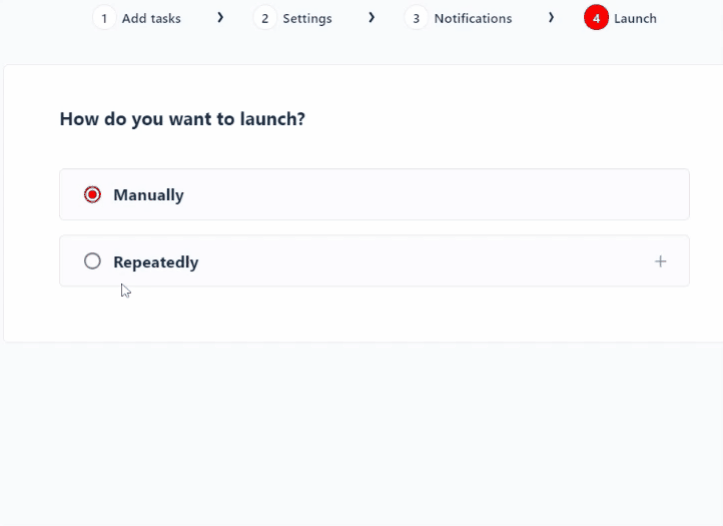
You can go turbo and schedule that scraper to do its thing every 5 minutes. Or you can go for an hourly, daily, weekly, or even a monthly frequency – whatever floats your boat!
In my case, the results are a bit limited, but when it comes to broader keywords like "Clothes," "No Label," "Urban Outfitter," and the like, we're talking thousands of listings with new ones cropping up every single minute. And that's when the magic of the 5-minute schedule truly shines. You set it, and in a flash, you've got the freshest listings served up on a silver platter every 5 minutes.
Step 2: Automate data export
Now, let's shift gears and get that data flowing straight into a Google Sheet. First things first, make sure you've saved your preferences by clicking "Save & Exit." Now, head over to https://sheet.new/ to create a new Google Sheet. Once you're in, hit the "Share" button and give your sheet a cool new name if you haven't already.
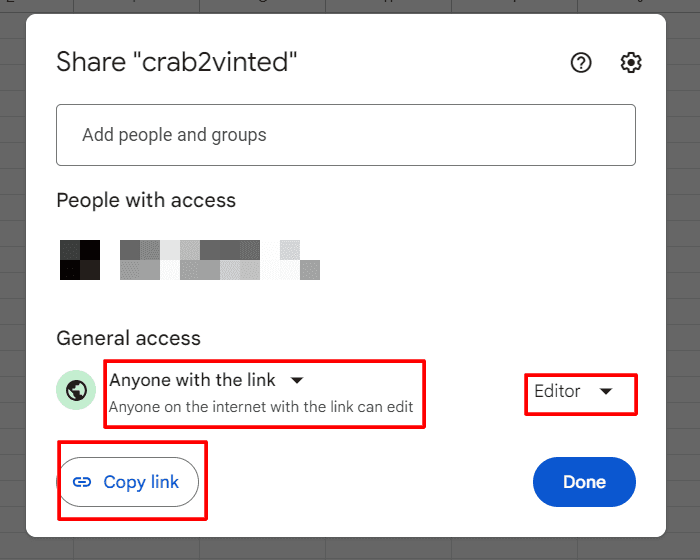
Now, when it comes to access, let's loosen up those reins a bit. Opt for "Anyone with the link" instead of the "Restricted" setting. Oh, and don't forget to upgrade the role from viewer to editor. Then copy that URL and get back to your lobstr.io console.
Spot that delivery icon? Give it a click and paste the copied Google Sheet URL. You'll see 2 options to choose from:
- Export Data from the Last Run \ With this, only the data from the latest run takes the stage. Anything that was previously exported gets overwritten each time a run ends.
- Export Data from All Runs \ All the data your squid extracted, from every single run, gets exported to the Google Sheet. Latest data come at the end of the Googlesheet, adding like a live-updated database.
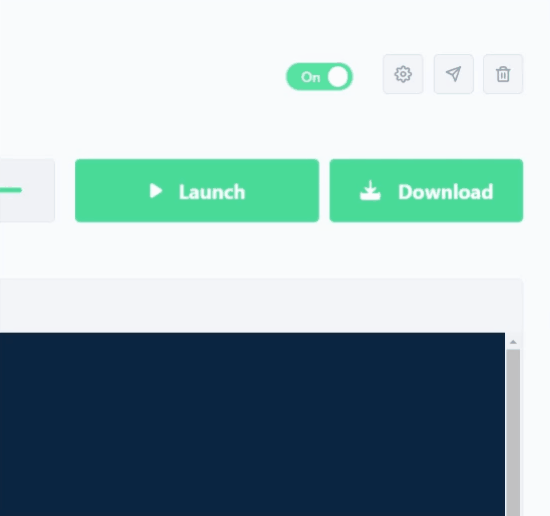
Click the “Test Google Sheet” button to confirm the sync and you’ve automated your vinted listings data collection. Now click the launch button to initiate the data collection process. Our scraper will collect listings and save them to Google Sheets. Now let’s move to the next step that is sending these results to Discord.
Step 3: Automate Discord delivery
Alright, let's dive into the next level of automation: get those juicy results straight to your Discord server. How? Well, here comes our buddy Zapier. In case you're wondering, "What is Zapier?", it's a SaaS solution that allows you to integrate various web applications and automate workflows.
Here's the game plan: we're going to wield a specific Zapier automation, the one you can find right here: Zapier Google Sheets to Discord. This automation allows us to bridge the gap between Google Sheet and Discord server.
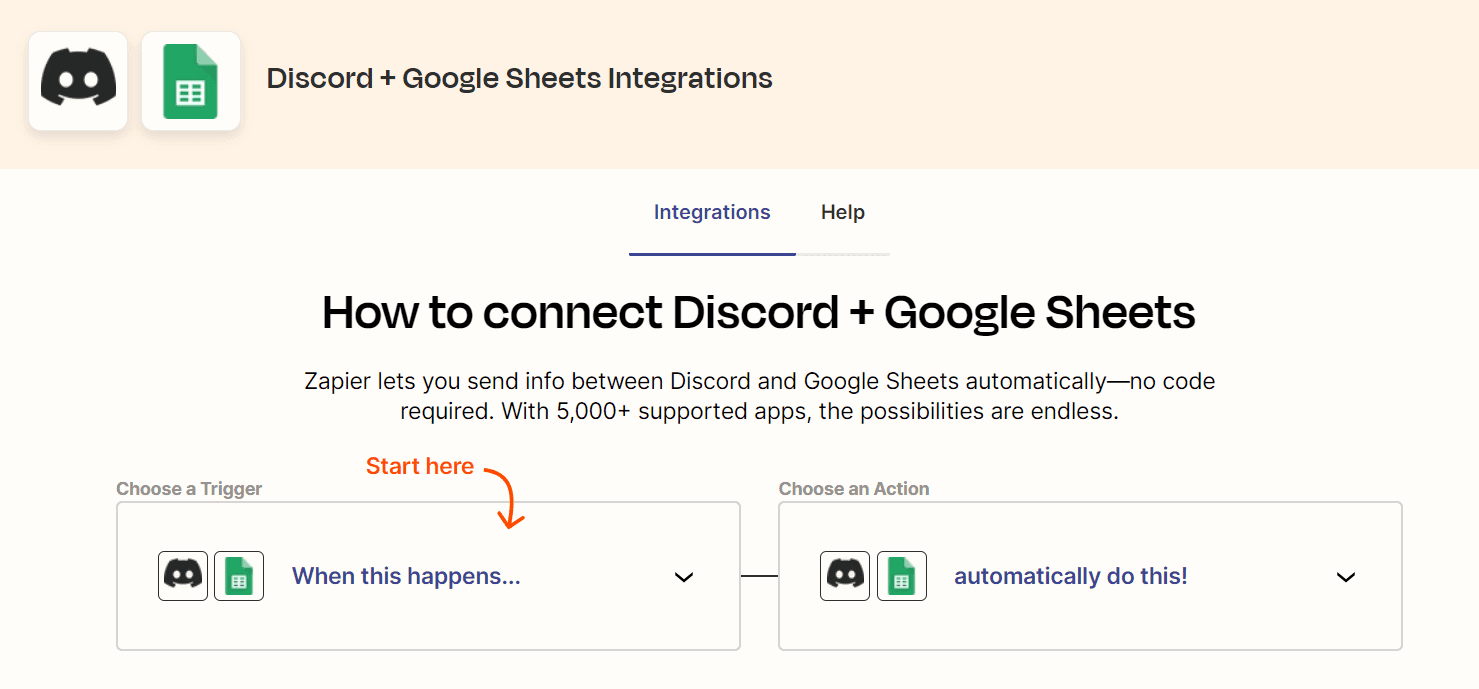
With this automation, each time a row is updated or added into your Google Sheet – the very one you've been exporting your Lobstr.io data to – Zapier steps in. It'll take those vital data attributes of a listing and send them over to your Discord channel as a customized message.
Create a Zap
Zapier has its own lingo, and they call their workflows "Zaps." Let's start creating our Zap. First things first, you'll need a Zapier account (obviously 😀). If you haven't got one yet, no worries – just head on over to zapier.com, hit that "Sign Up" button, and create your free account. With that done, you're all set to create your first Zap.
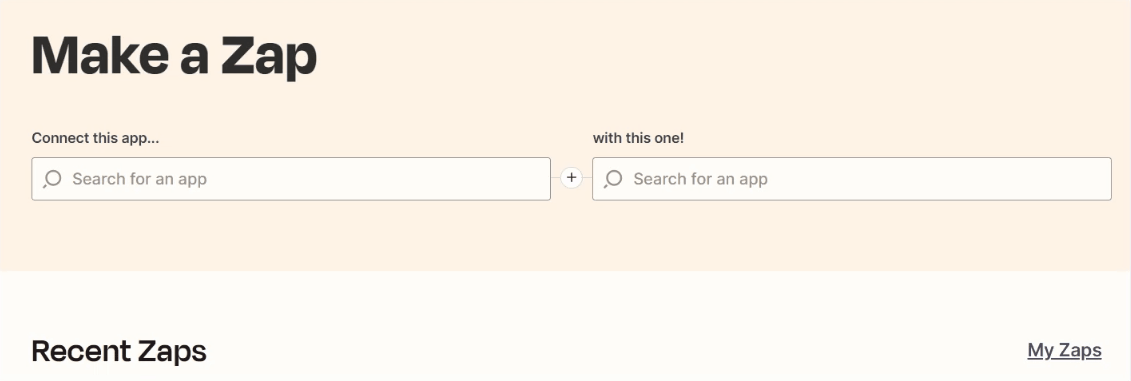
Once you're in, take a look at your Zapier dashboard. You've got two ways to get started. You can either click the "Create Zap" button, or use the super-handy "Make a Zap" menu right in the middle of your screen:
- In the "Connect this app..." field, type in "Google Sheets" and select it from the options that pop up. In the "With this one!" field, type "Discord" and give it a click to select.
- Now, you'll see a duo of fresh fields. For "When this happens..." opt for "New or Updated Spreadsheet Row," and for the "Then do this!", choose "Send Channel Message."
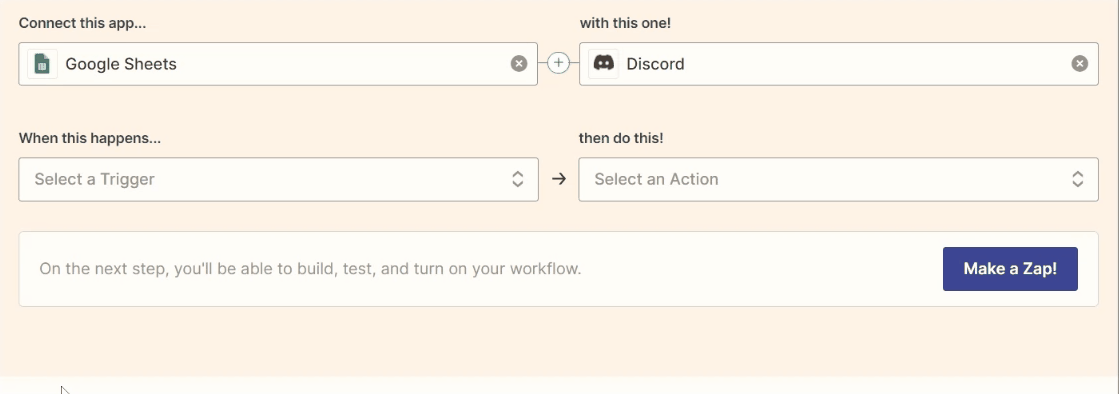
Once done, simply click the "Try it" button and it'll take you straight to the Zap visual editor. That's where we'll connect Google sheet and Discord and configure our workflow.
Connect Google Sheet and set trigger
In the Zapier visual editor, you’ll see a prompt to connect your Google account. Remember, this account should be the same one that hosts the Google Sheet where you've been stashing away all that juicy Vinted data from Lobstr. Link up your Google account with Zapier, and when you're all set, click that "Continue" button.
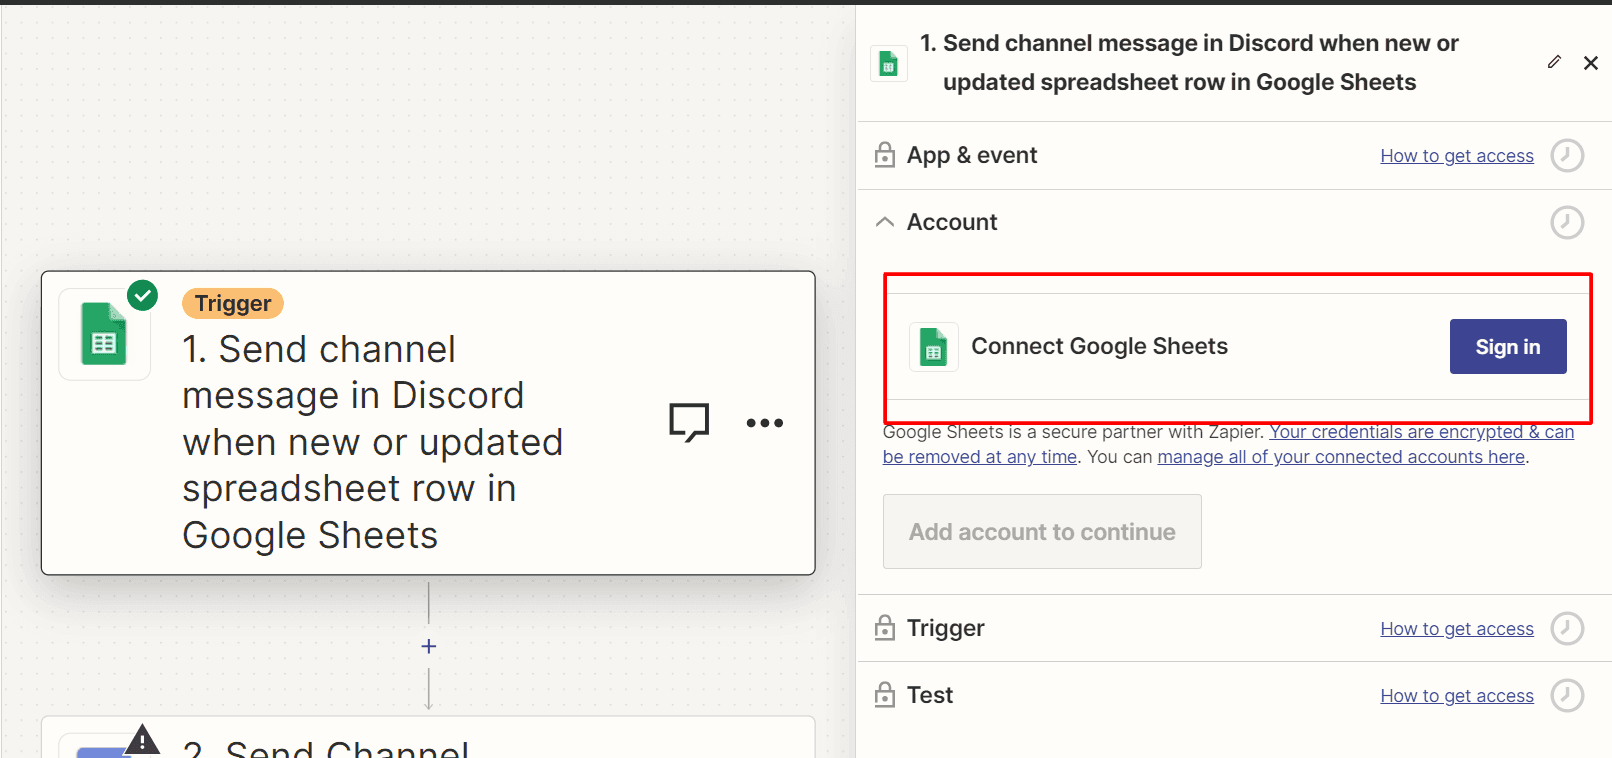
The next stop on this automation express is setting up the trigger. This is where the action starts to get real. You're going to choose the specific spreadsheet that's synced with Lobstr. Got more than one worksheet in the mix? You'll have to pick the right worksheet too. Select your spreadsheet, and hit "Continue."
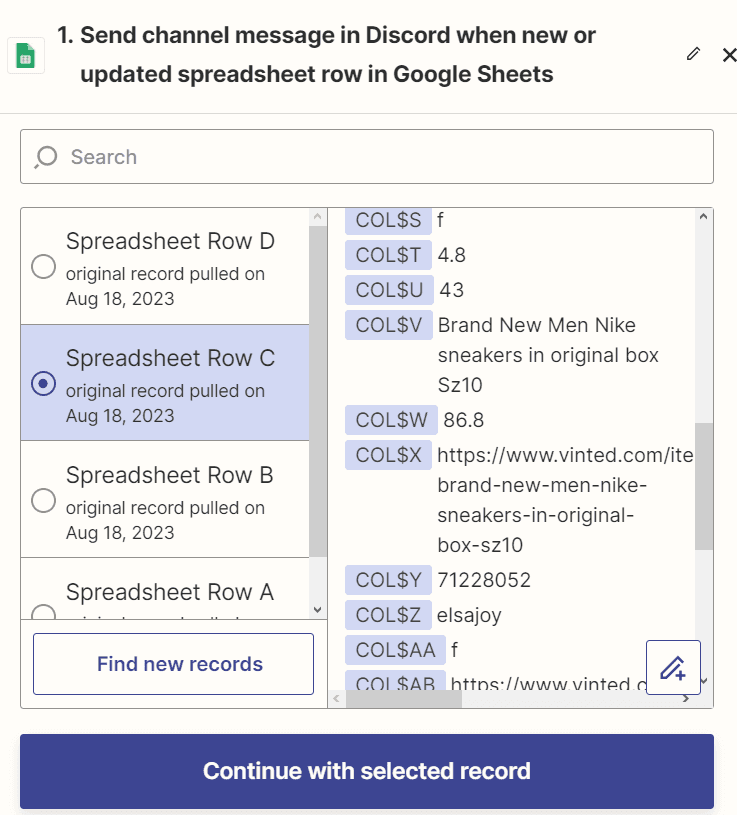
Finally, click the "Test Trigger" button and it will test the spreadsheet connection. Your spreadsheet is connected. Your Zap will ask you to select a row to test the trigger. This row will be used to send test message to discord in the next step.
Now we'll move to the final step which is connecting our Discord server to Zapier.
Connect Discord server and set response
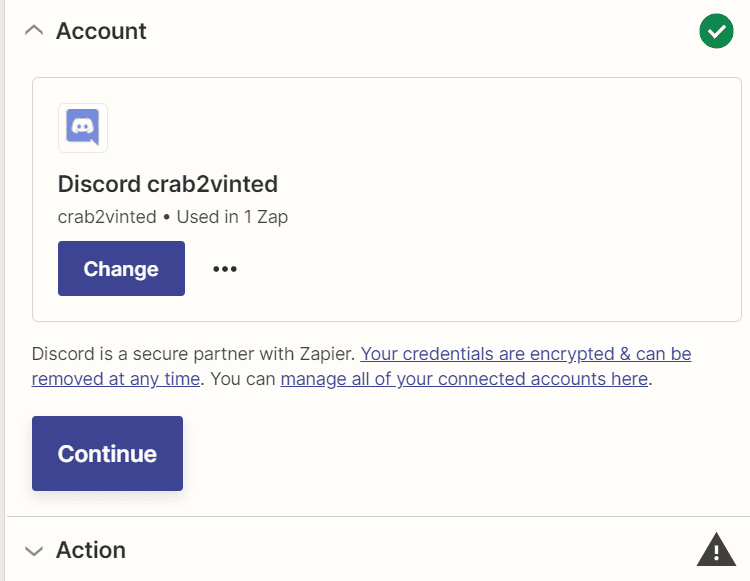
Next, we’re going to connect the discord server. If you don’t know how to set up a discord server, you can read this short tutorial. Once you’re ready, sync your discord server to Zapier. Click “sign in” to sign in to your discord and allow Zapier to join your discord server as an admin. You can modify the permissions as well. Once your server is connected, click continue to set the Action.
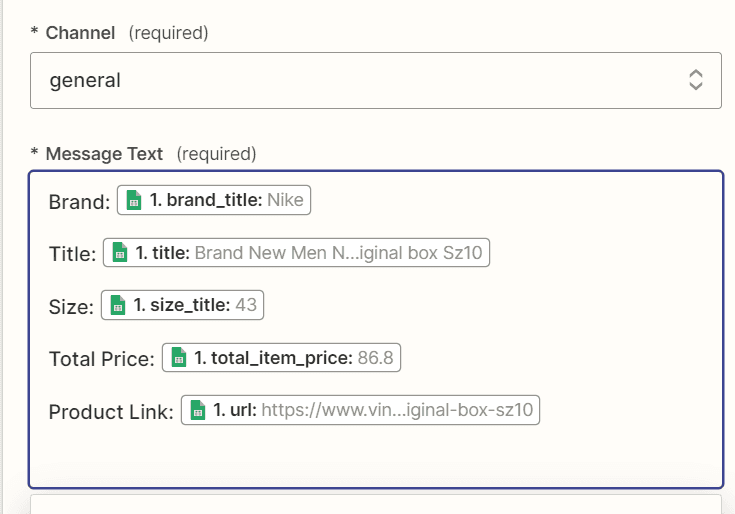
This is the most exciting part. In action, we’ll start with the channel. Select the channel where you want to post the products. Then move to the message part. You can customize the message completely.
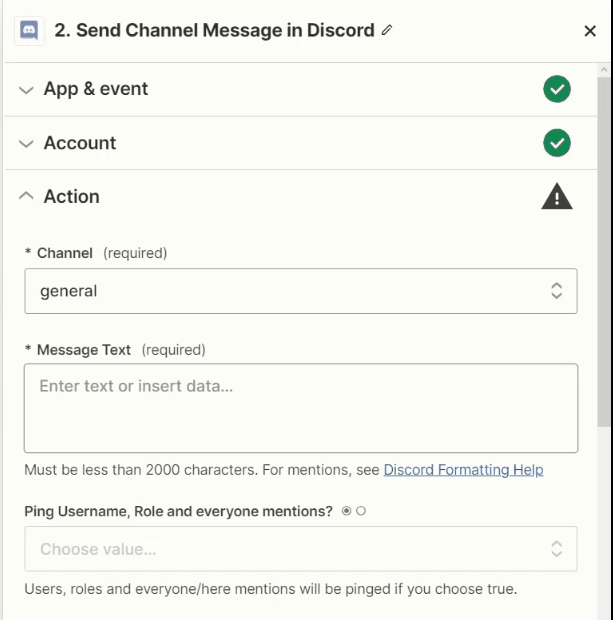
We can add text and embed different columns from our sheet. Let’s create a customized message. I want to send message in the following format:
Brand:
Title:
Size:
Total Price:
Product Link:
Here’s how our customized message will look like:
You can also choose to ping your server members or specific roles. Our bot is currently named “Zapier”, we can rename it and also add a custom icon. I named my bot ‘Vinted_Sneakers_Tracker’. Click continue to save your preferences and move to the final step.
Now just like the trigger, we’ll also test our action. Clicking the “Test action” button will send our customized message to our discord server.

We’ve successfully automated our Vinted to Discord scraping workflow!. Now the only thing left is to publish this machine. We’ll simply click the “Publish” button and our workflow is live. Now every 30 minutes, I’ll receive fresh listings from Vinted right in my Discord server.
But wait! Don’t sit back until you receive the first batch of your updates. Sometimes zapier misbehaves. You’ll see a message like this in your dashboard:

This means your tasks have been paused and Zapier needs a confirmation. If this happens, you’ll have to manually run the tasks. Click “Help me fix it” and it’ll expand the warning message. It’s a really common issue in Zapier and you’ll have to deal with it repeatedly.

“Confirm that you want to play these Runs” and it’ll take you to the Zap history page. From this page, we’ll replay our held runs. Select all tasks and click play.
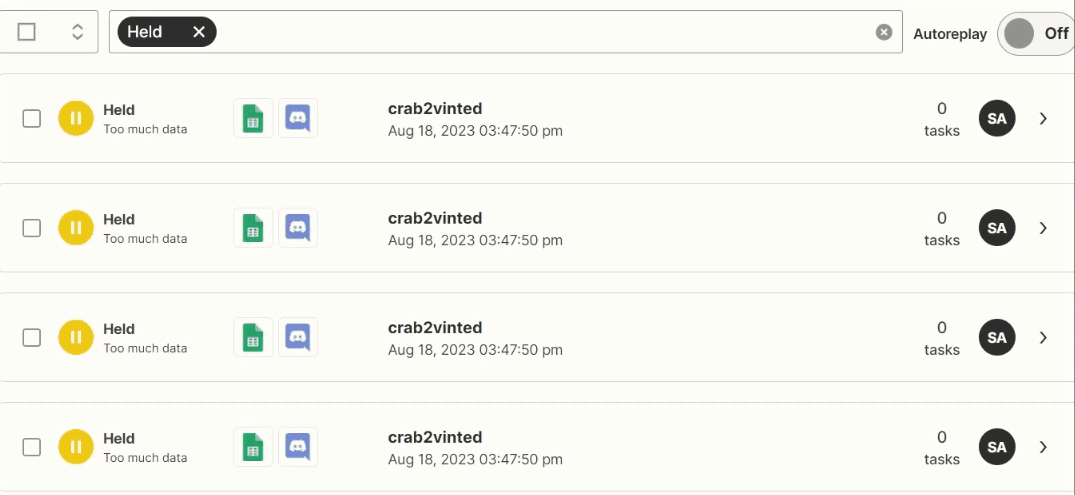
With that, you’ll start receiving all the updates directly into your Discord server. But make sure to check your Zap history daily to confirm all results were sent and none was held back. Tasks are not necessarily held all the time, they won’t execute due to some error as well. So it’s important to keep an eye on your automation machine.
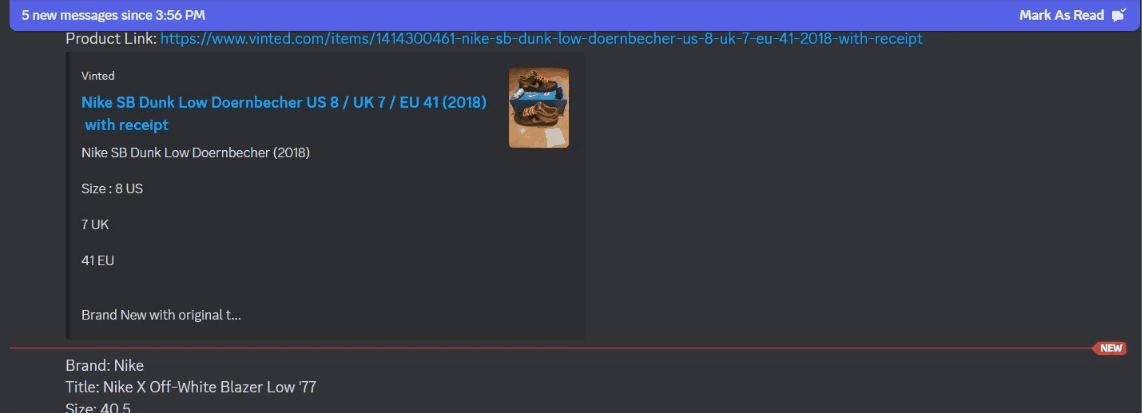
As the screenshot says, We’ve started receiving the updates in the Discord channel. You can create multiple channels for different product categories and create a similar automation for each channel.
Make these tweaks to make your automation smooth
To make the workflow seamless, you can add a few minutes delay between trigger and action. This will reduce the errors that put your tasks on hold. Another good option to deal with occasional errors is auto-play. In Zap history, toggle the auto-play button. This will automatically replay the tasks if they’re held due to an error.
For extensive error handling, you can use a useful tool by Zapier called Zapier Manager. This integration will send an error report to your Slack, Discord or email when your workflow encounters an error. You can also use it to turn on and turn off Zapier by giving if or while conditions.
Limitations
As I navigated through this whole workflow, I stumbled upon a couple of speed bumps that I just had to share.
First off, every now and then, the Zapier tasks are marked "held" and you'll have to replay them 3 to 5 times.
Second most painful thing about the overall process complexity. For a new user (like me) who's not a pro in Zapier, it can be a little complicated to create a perfect automation workflow. It sometimes doesn't send data after testing. You'll have to refresh the fields in Zapier, try some demo data to make the automation work.
How much it costs
Both Lobstr and Zapier offer you a free forever plan. With Lobstr, you can scrape up to 67k results per month for free. However, Zapier's free plan has a limit of 100 tasks per month. In this case, 1 task equals 1 result. Consequently, you can only send 100 results to Discord with the free plan. Moreover, Zapier presents a 14-day free trial with 1000 tasks.
Lobstr boasts 2 paid plans: a 50EUR per month premium option and a best-value 250EUR per month business plan. On the Zapier side, premium plans begin at 28EUR per month, with prices escalating as the number of tasks increases.
Conclusion
In conclusion, in this guide we automated our Vinted scraper to send data to Discord. With Lobstr.io, you can flawlessly gather Vinted listings, and Zapier ensures they smoothly land in your Discord server. Plus, remember, Zapier isn't limited to Discord – you can also send your findings to Slack and Telegram.
Happy scraping! 🦞